The initial steps in the process of creating a website are all about organizing your thoughts and finding clarity of purpose – in other words: making a plan.
Creating, and following, a plan is essential for understanding your web design and development project. Going through the steps of this process will save you time in the long run, and it will also provide a streamlined path to follow that will keep you from getting overwhelmed with the complexity of the systems that your site will likely involve.
If you’ve ever built something that requires cutting materials, you’ll have heard the adage “measure twice, cut once.” This rule should definitely apply to web design as well.
Table of Contents
Download the Website Planning Worksheet
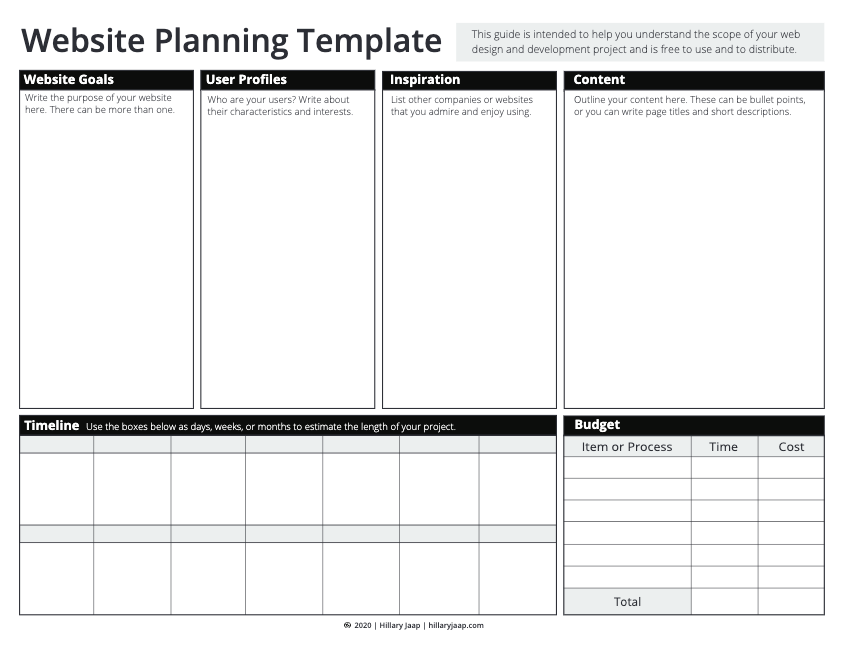
Follow the steps in this PDF template that you can use to organize your thoughts as you prepare to move through the steps of the design and development process.
Step 1: Define your goal(s).
Answer this question: why are you creating a website?
Maybe you need a place to post your recipes where your customers can easily browse through them. Perhaps you’re graduating from art school and you need to build a portfolio. Or maybe you’re an entrepreneur and you want to establish a professional and appealing online presence to beef up your credibility?
Whatever the reason is, and there may be more than one, you should write it down or record it in a way that makes sense to you. While you nail down this essential question you may find it helpful to think about your users. After all, your website will exist primarily for other people to visit. What do you want their experience to be like? What should they learn while they’re on your site? Record all of this.
Practically, different websites have different functions that can serve as examples for this step.
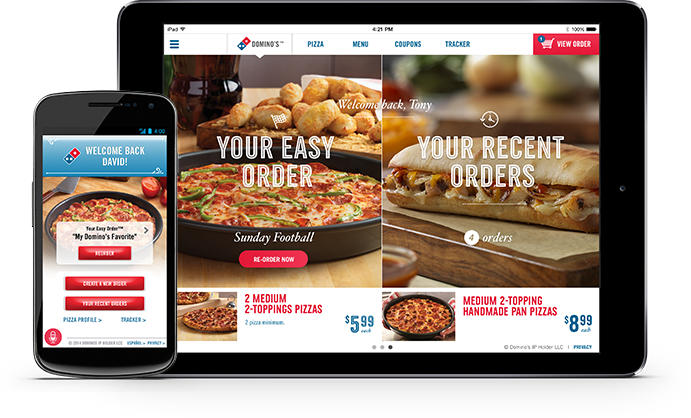
A restaurant website may have a downloadable menu or an interface that will allow a customer to order online, like Dominos.com.
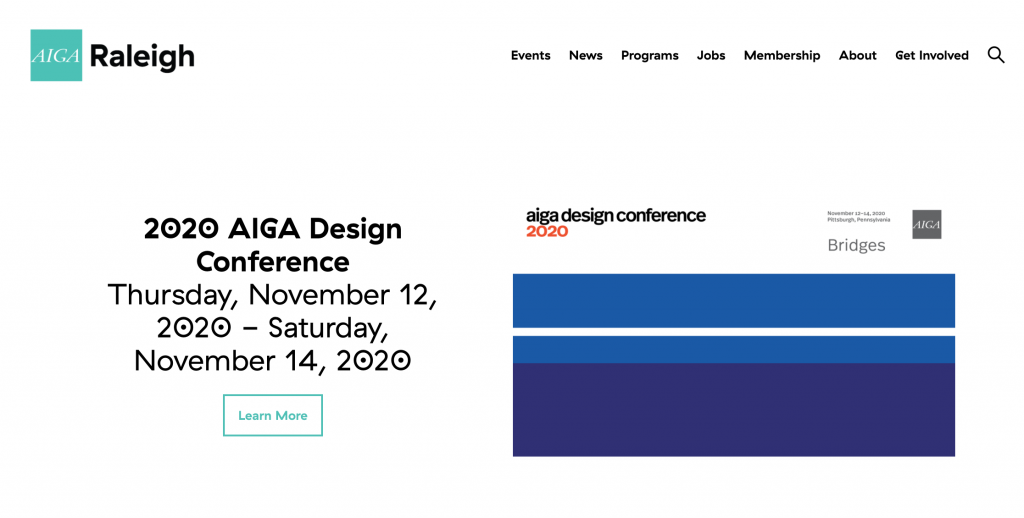
The website for a local non-profit organization doesn’t have a need for those features, and instead emphasizes upcoming events with a calendar module.
The goal of Domino’s website is to encourage customers to purchase pizzas. The goal of the non-profit website is to encourage customers to sign up for upcoming events.
Step 2: Define your user(s)
What do you know about your users?
Write out the age, profession, location – anything that comes to mind when you picture your current and/or ideal visitor. Understanding your user is imperative for creating an enjoyable experience. It’s important to keep in mind that your users may not be like you. Consider how they might be different, and try to get into their shoes.
If you’ve done any branding exercises you’ll likely have already thought through this, which is great! Use that information here. Incorporating a brand built on value to the user will help to clarify how the content of the site should be organized and how you might go about testing and optimizing your site’s performance.
Step 3: Create the content
This might be controversial. Some might believe that knowing the layout of the site will provide “buckets” that you can go back and fill content with later on, so there’s no need to write until that point. It may be misleading, since designers will often use Lorem Ipsum in mock-ups and iterative designs.
While you definitely want to start out with a flexible mindset, you should at least know what the general content of your site will be. Will it have a services page? An About page? What will you say on those pages? You don’t have to write out a whole page of content necessarily, but having some direction for the content going into the design stage is essential, otherwise you’d be creating pages on your website for…? Not sure.
Let the content drive the design. Figure out what you want to say, then figure out how to say it.
Step 4: Find Inspiration
Web design is a creative field, indeed some would say that it is an art, and the industry is constantly evolving rapidly with the introduction of new tools and the improvement of connection speeds. While trends are constantly shifting, you can still find inspiration out in the world for experiences that you find delightful, that you think the users on your website will also appreciate.
Picasso was widely attributed for an observation: bad artists imitate, great artists steal. Do not re-create the wheel. Find examples of work you enjoy, and that is, of course, relevant to your purpose, and save that URL for reference later. Try to figure out what it is about that experience that you really like. This will help you when you’re making design choices down the road.
Step 5: Determine your budget
Perhaps one of the most important aspects of engaging in a web development project is understanding the costs of all of your different options.
The fixed costs of publishing a website
There are always fixed costs, such as:
- Domain registration
- SSL certifications
- Hosting services
- Marketing tools + services
- Website builder subscriptions
- Premium theme(s)
Filling out this planner should give you a good idea about what tools you are using, and if you don’t know what you don’t know then you might want to consider talking to a designer or developer just to gauge how complex your site is, or to find out if there are any fast and easy ways for you to build the site you want.
Should you hire a developer?
What do you know about the tools that you might use? Will you need to be able to edit and publish content on your site? Do you know if you want to use WordPress, or are you open to other frameworks?
What is your experience like with web design and development? Are you comfortable taking on those tasks yourself? Do you have the time to commit to those tasks? Is that the best use of your time?
Read “How much does it cost to create a website?” to learn more about estimating your web design and development budget.
Project timeline
It’s also important to have some idea about how long you expect your project to take. This will not only help you stay on task, but it will also help you and your designer/developer to understand your expectations within your budget.
If you go the DIY route you’ll want to budget the hard cost for the tools that will support your individual needs, and you’ll want to budget an ample amount of time to learning how to use those tools.
Fill in the lines in the budget box of the website planner guide with your estimates for the fixed costs, the hours required, and the cost of that time to estimate your budget. If you’re planning on building an RFP based on the website planning guide, you’ll want to consider your budget estimation carefully.
Website Planner Worksheet
Psychologists say that writing down our ideas helps us to understand them better, so you might consider printing out this website building template and writing on it, or you can just use the guiding questions to help you structure your information.
Download the Website Planning Worksheet
Follow the steps in this PDF template that you can use to organize your thoughts as you prepare to move through the steps of the design and development process.